Milder afternoon temperatures and gorgeous cool mornings are making me smile. And if I’m smiling about the weather, you will usually find me working in my garden at some point in the day. Sure it’s dry, and yeah, it’s still a little too warm out there on some days. And I know the soil in our drought-ridden town is so dead it’s barely able to absorb more than a tiny sip of water on designated watering days. And yes, it is definitely sad and discouraging, but I’m not dead yet, and neither is my compulsion to mend the soil and get something growing in it.
In other words, a gardener’s gotta do what’s gotta be done if he or she wants to continue being a gardener. And given last winter’s killing freezes and this summer’s murderous heat and drought, what’s gotta be done doesn’t fit on one list.
But before I get to my gotta do list, I’d like to thank Austin garden blogger Pam Penick for declaring October “Support Your Independent Nursery Month” and featuring a different nursery in her blog every week. I’m happy to sing the praises of independent nurseries because I can’t imagine be a happy gardener without them. When cooler temperatures gave me the nudge I needed to get my fall garden going, I found a fresh crop of seeds, transplants (vegetables and perennials) and tools ripe for the picking at all of my favorite nurseries. So I’m giving thanks to local independent nurseries by adding their names to a materials source list that I’m compiling as I write about overhauling (and nurturing) my stressed out garden.
If you find you have a few extra dollars for fall seeds or a new drought-tolerant perennial, don’t forget your neighborhood nurseries. I know a lot of local gardeners (myself included) who might start filling rainbarrels with sad, salty tears if any of our favorite nurseries close because of the drought or the economy. All that salty water would not be good for our gardens.
(Find links to what other Austin garden bloggers are saying about homegrown nurseries this month at Pam’s blog.)
And now back to my gotta do list. First on the list is to revive the soil. When the soil is so dry and barren that it sheds water instead of absorbing it, planting fall seeds or transplants is risky business. In dry dusty soil, the microbes that support healthy plant growth have either died or gone dormant because they have no food or water. Also of great concern to me (in part because I recently read “The Worst Hard Time”) is that soil too dead to support any kind of plant life has nothing to hold it down when the wind blows hard or when a heavy rainstorm blasts through town (as one surely will at some point in the future).
The best way to help the soil is to feed the microbes and entice earthworms and other beneficial deep soil dwellers to venture up into the topsoil layers. To that end, I’ve been gently mixing organic materials into the top two inches of soil — partially decomposed leaves and slightly chunky (unsifted) homemade compost. To stretch my homemade compost, I’m mixing it with some Back to Nature Cotton Burr Compost (coarse).
And finally, every bed is getting at least two inches of mulch on top of the compost layer and lots of careful handwatering, even if there are no plants in the bed. The microbes won’t thrive (or excrete plant nourishing byproducts) until the soil can hold some moisture.
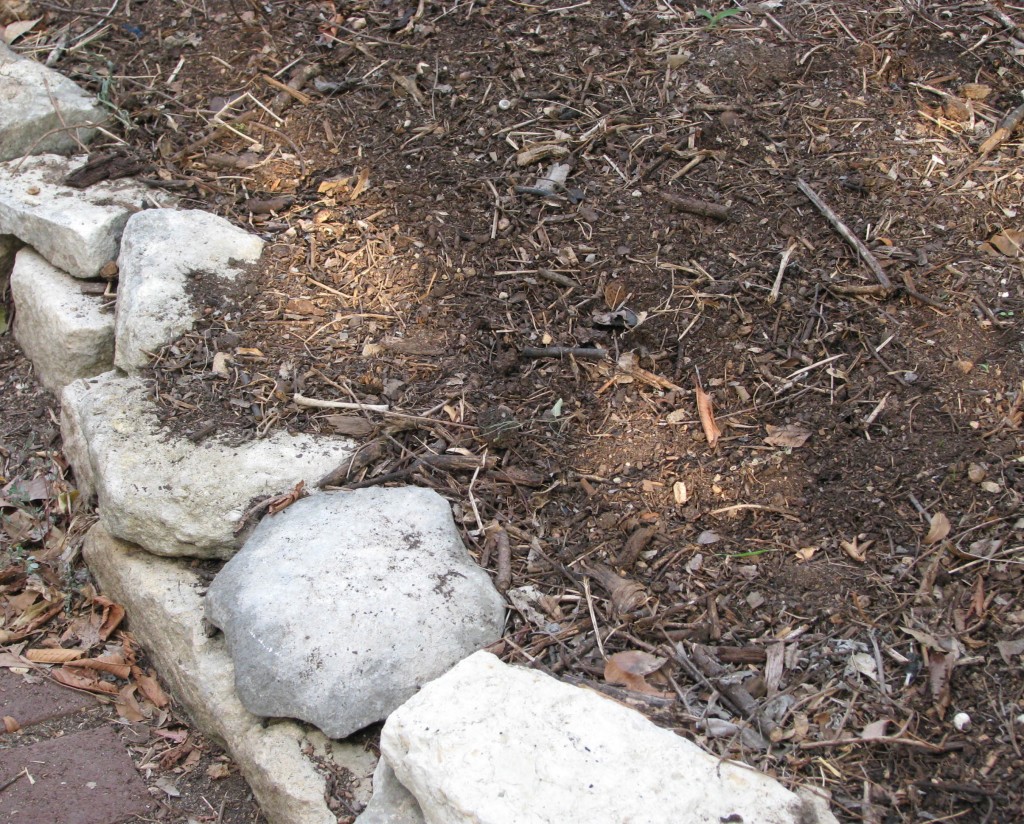
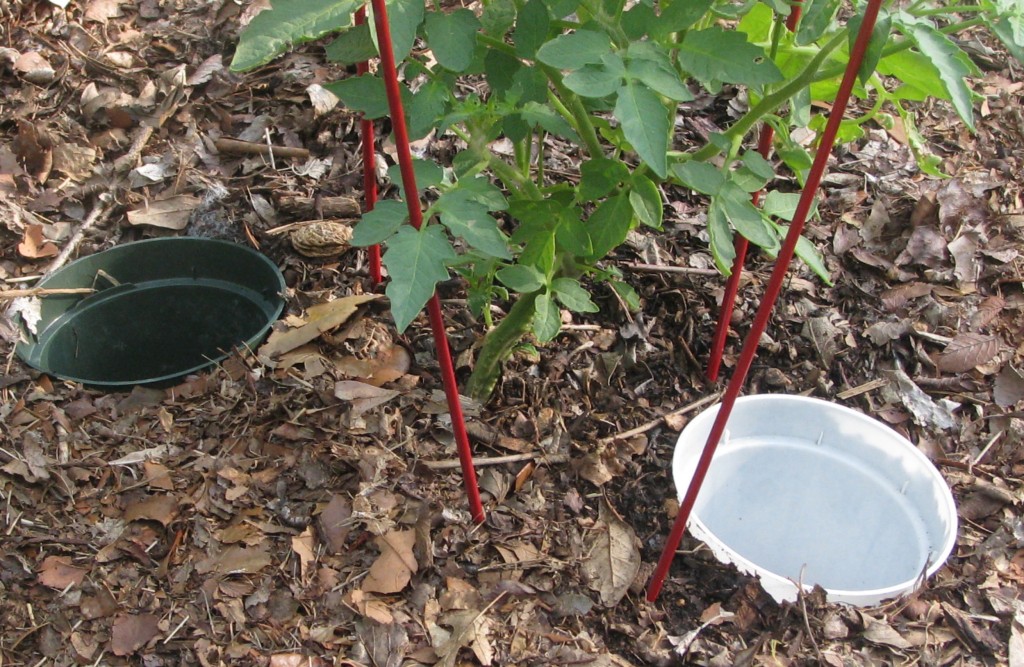
And therein lies the rub. I’ve had a heck of a time getting my tired and dried out garden soil (example of dead soil in photo above) to hold any moisture — even after digging in compost and leaf mould. I’m sure I’m not the only gardener who has been standing around for what seems like forever watering, watering and rewatering a particularly dead patch of bare soil only to find that the moisture hasn’t penetrated at all. (Where did the water go? Is there a hidden crack or crevice somewhere that’s filling up with hose water?)
I finally had to use extreme methods to moisten the soil enough for fall vegetable seeds and perennial transplants. Using a fork I scratched the surface of the soil and sprinkled with water. After it soaked in, I scratched the same spot again, and watered again. I kept repeating until scratching the soil no longer revealed dry patches. Finally, the soil started absorbing (instead of repelling) the water.
You can test to make sure your soil is absorbing all the water you’re giving it by poking your finger down about two or three inches into the bed. If your finger finds dry soil, you need to keep watering. If you pick up a handful of soil, squeeze it, and at least some of the soil particles stick together, you know you’re getting somewhere.
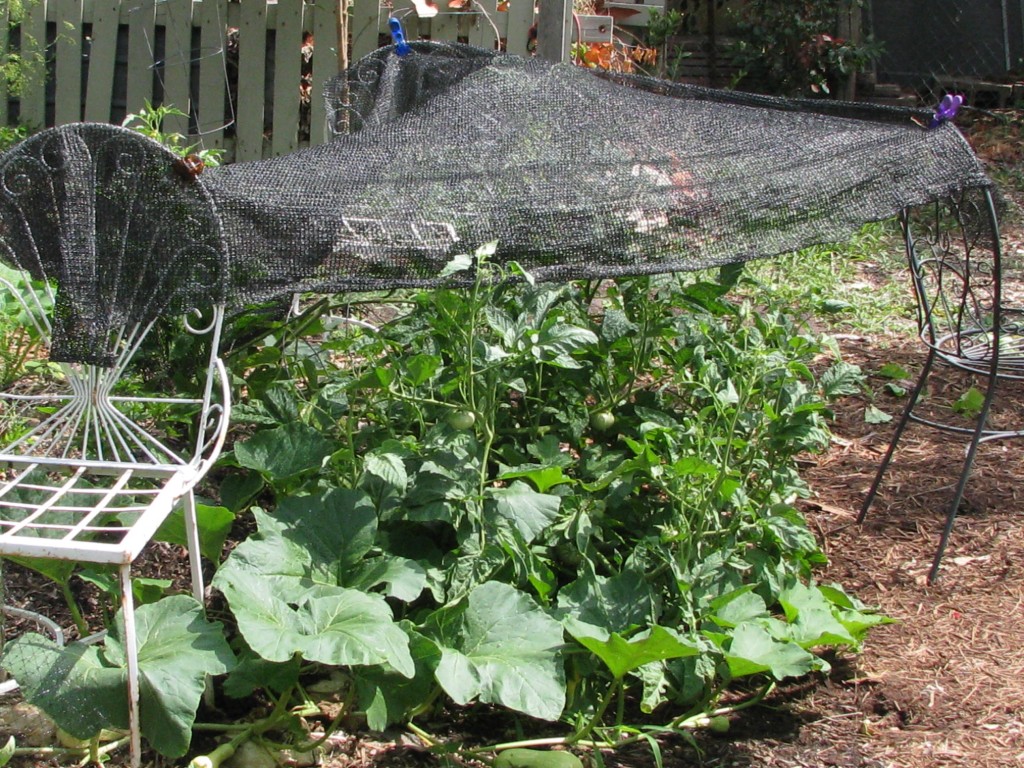
When your bed is well moistened, cover it with mulch (wood chips, pine needles or chopped leaves). When you’re ready to plant, push the mulch off to one side long enough for seeds to germinate and transplants to take hold. Then replace the mulch, but leave a little breathing room around the plant stems. And if afternoon temps reach into the 90s again, consider stretching shade cloth or row cover above your beds to help keep the ground cooler.
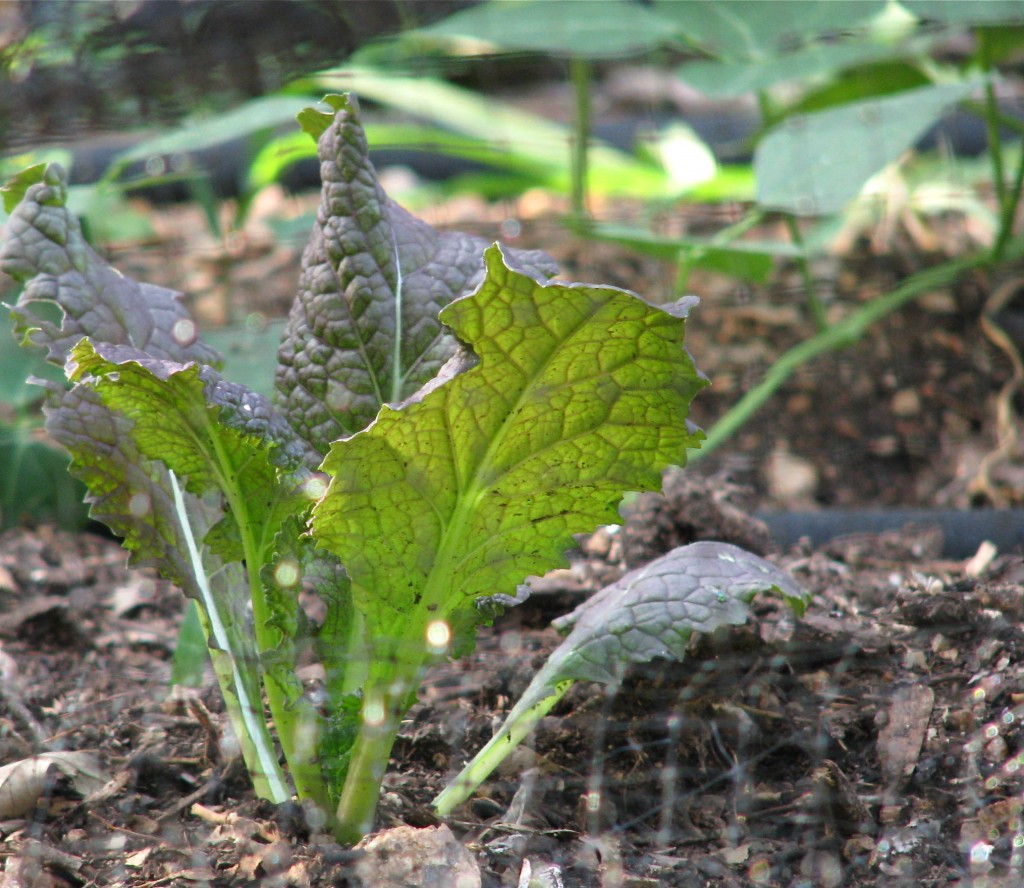
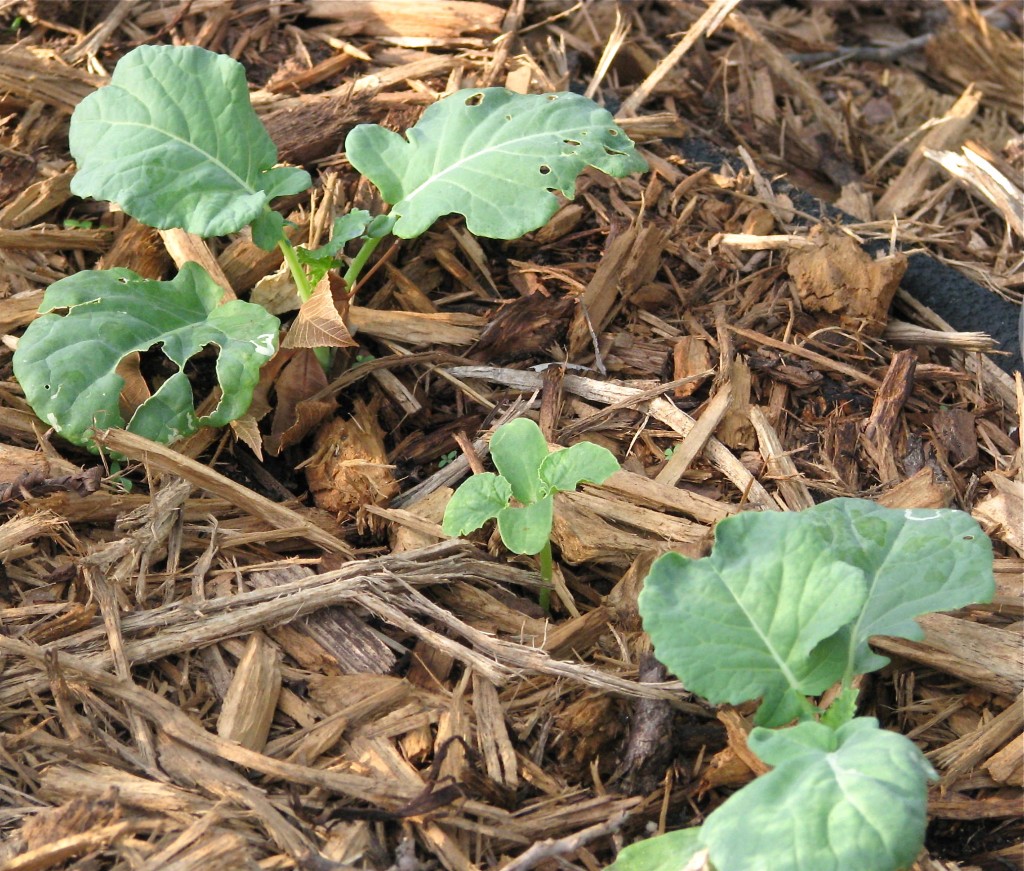 In the past week, after a round of intensive watering and topping the soil with compost and mulch, I planted kale and mustard transplants and sugar snap pea seeds. The seeds germinated in a few days, and now, a week later, some of the seedlings are taking off. (Big sigh of relief.)
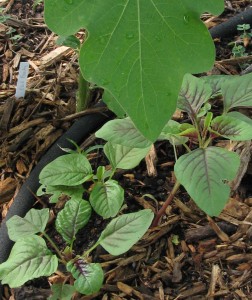
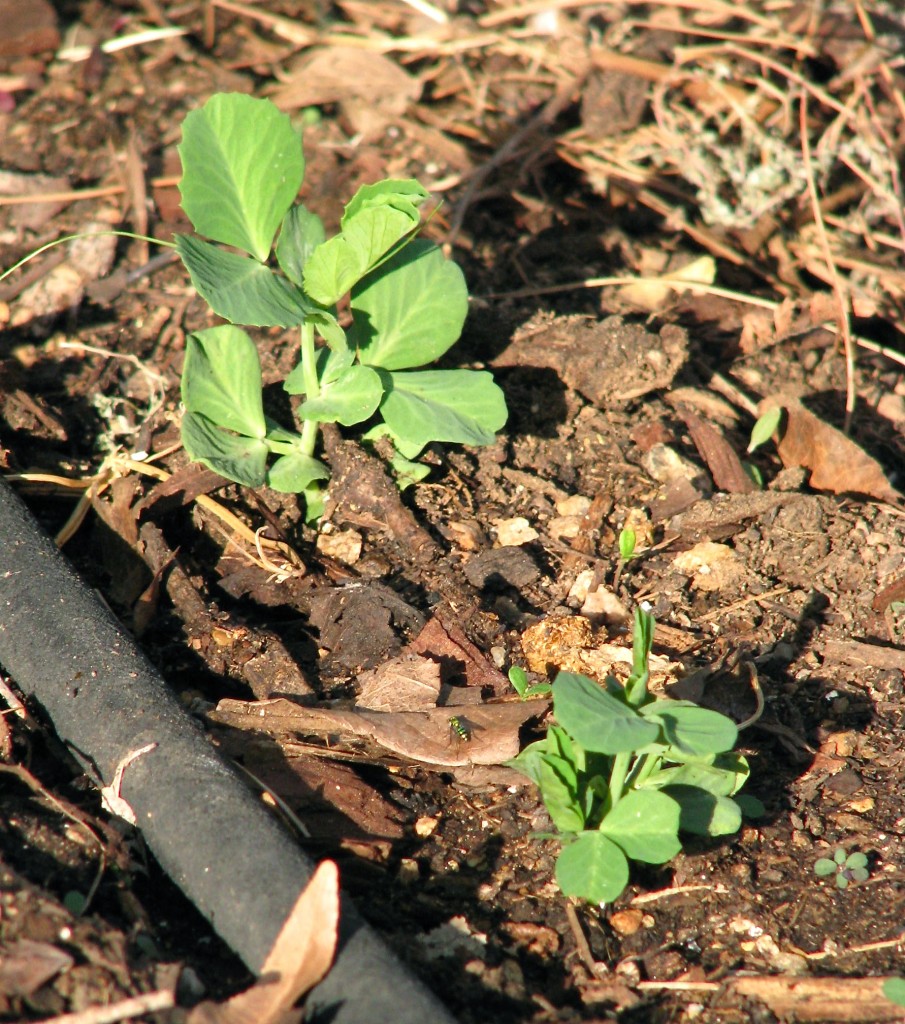 Last month, after two tries, my lima bean seeds finally sprouted. They’re starting to bloom now, so I may squeak in under the first freeze with a bean harvest. The birds ate the first lima bean sprouts of the seeds I sowed in July. After that, I started setting out bird seed. The birds are happier now, and so am I
Sources for materials mentioned in this post:
Mustard and Kale seedlings: Breed and Company, The Great Outdoors
Lima Bean and Snap Pea seeds: The Great Outdoors
6-pack of broccoli transplants: Barton Springs Nursery
Shade cloth, row cover: The Natural Gardener
Back to Nature Cotton Burr Compost (both fine and coarse versions), Barton Springs Nursery
Stay tuned for more about fall garden projects and plantings, including a minor miracle: yellow squash plants that have not been decimated by squash vine borers.
And smile! It will rain again some day.
—
Photos by Renee Studebaker/Do not use without permission

