The last day of summer 2011 is Sept. 23, unless you’re going by meteorologists’ summer, which ended the last day of August. Either way you look at it, summer isn’t over yet. But the bigger question in my mind (and probably yours too) is when is the last day of this drought?
Perhaps you’ve heard that this summer in Texas, June, July and August were the hottest three months ever recorded in the history of the United States. And that the record was formerly held by Oklahoma during the Dust Bowl in 1934. Not happy news.
Gardening in Central Texas has never been easy, but this is getting ridiculous. Will it ever rain again? Do we really have to turn into San Angelo? Should I start making plans to move to Portland? Are my pecan trees going to die? Will I ever feel at peace in my garden again?
This is sounding a little whiny, I know. Perhaps I’m suffering from heat exhaustion. Or perhaps I’m momentarily stuck in Stage 2 of …. THE FIVE STAGES OF GRIEVING ABOUT CLIMATE CHANGE IN AUSTIN (with apologies to Elsabeth Kubler-Ross)
1. DENIAL: “My garden is fine. I don’t have to panic because this drought can’t last much longer. It will rain soon. I know it will. And besides, some people think climate change is just a hoax. Maybe they’re right. I’ll just go buy something fresh and new to plant in all those empty spaces.”
2. ANGER: “Why Austin? Why not Portland? Or Seattle? How come they get mild summers and all that rain? Where’s our share? It’s not fair. One of my stressed-out pecan trees is dropping limbs. I don’t want a garden full of nothing but cactus and agaves. I want to scream.”
3. BARGAINING: “What can I do to get more water for my vegetables and fruit and nut trees? Dig my own well in the backyard? Call in the Greywater Guerillas? Maybe a nongardening neighbor would let me run his water hose to my garden on his designated watering day. I could trade him water for squash and beans.”
4. DEPRESSION: “I’m so sad. What’s the use of gardening? Everything burns to a crisp. I’ll just buy produce from Wal-Mart. What’s the point of growing vegetables in a desert? I don’t even feel like cooking. I’ll just open a can of something. Who cares if it’s tainted with BPA and Carbaryl. We’re about to smother in a big bowl of dust.”
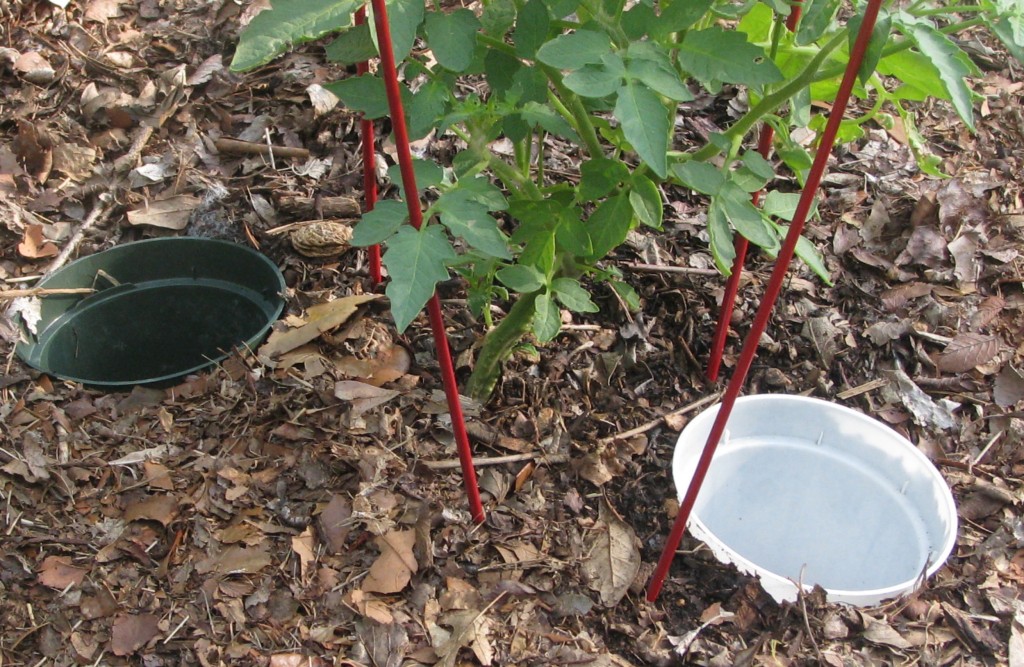
5. ACCEPTANCE: “It’s going to be OK. Even if Austin IS turning into a desert, it doesn’t have to become a dust bowl like THE Dust Bowl, and I don’t have to give up gardening. Some deserts are nice. I can learn to use more desert-friendly growing methods. Gardeners in Tucson (with an average annual rainfall of only 12 inches) grow vegetables, right? And dryland farming methods are being explored all over the world. At the very least, I can try sunken beds with mulch-filled trenches and ollas — and then maybe I won’t have to stand for so long in the heat holding a water hose. And more shade. Definitely more shade. And maybe even aquaponics. Hmm… with a tilapia-stocked aquaponics system, I might go back to eating fish more often.”
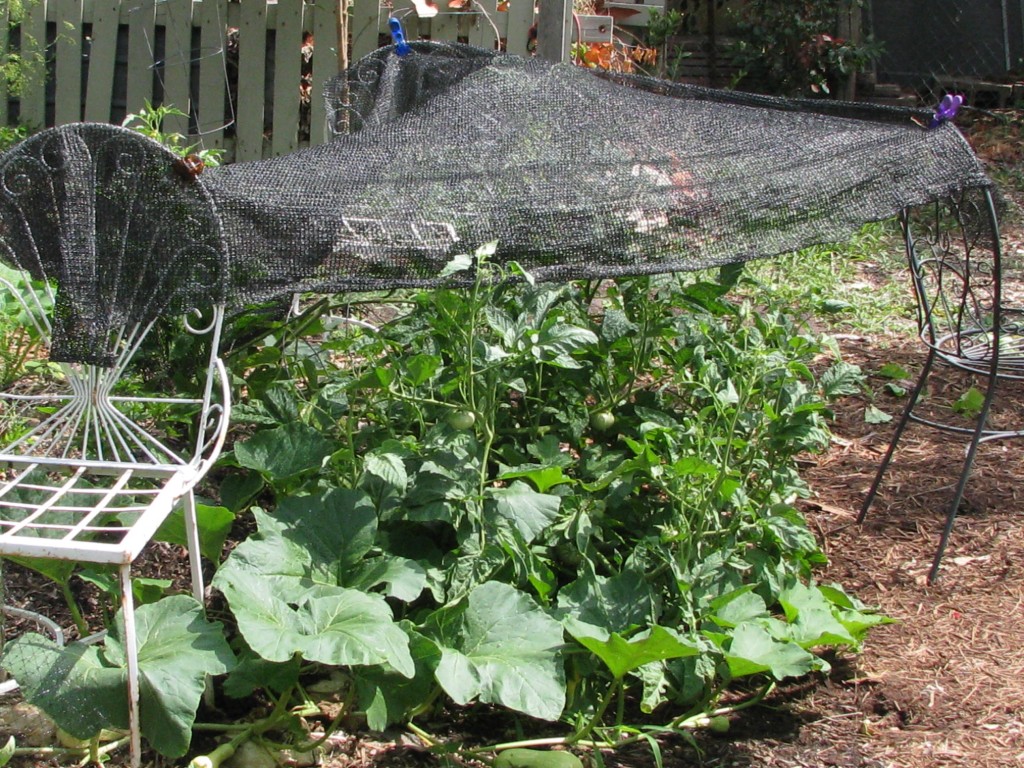
OK, so you get the idea. I’d like to report that I’ve worked through the stages and am now residing comfortably in Stage 5. But no, I’m not quite there. Last week, the cooler temps made it easy to jump to Stage 5, but with the temperatures climbing above 100 again this week, I’ve got some Stage 2 grumpiness coming on. That said, I’m feeling optimistic enough that I’m about to set out broccoli and kale transplants (under shadecloth). And I may even try to direct seed some Swiss chard and snap peas later this week. But if the squirrels dig up my moist seed beds and ruin my efforts, I might revisit Stage 4. I’ll spread some chicken wire over the seedbed, stake it down and cross my fingers.
I guess what it all comes down to is this — if you’re a gardener, you’ll figure out a way to garden.
My grandparents managed to get by during the Arkansas drought of 1930-31. Those years were also the beginning of the Great Depression. They hauled well water to a small vegetable plot, raised guineas, hunted small game (mostly squirrel), and ate a lot of cornbread, pinto beans and salt pork.
So in the spirit of doing what you can to get by (and sometimes even thrive) no matter the weather or the economy, here’s a selection of recipes I’ve been working on using what’s still alive in my summer garden (peppers, amaranth, arugula), what’s keeping well from the spring garden (butternut squash, garlic), plus crunchy Kieffer pears (from Lightsey Farms) and wild hog (from Sebastian Bonneau at Countryside Farm). Lightsey should have Kieffers through September and maybe longer. Bonneau almost always has wild hog for sale a the Farmers Market downtown (4th and Guadalupe).
Drought Friendly Recipes for the New Recession (or the New Expansion, or the New Climate, or whatever happens first):
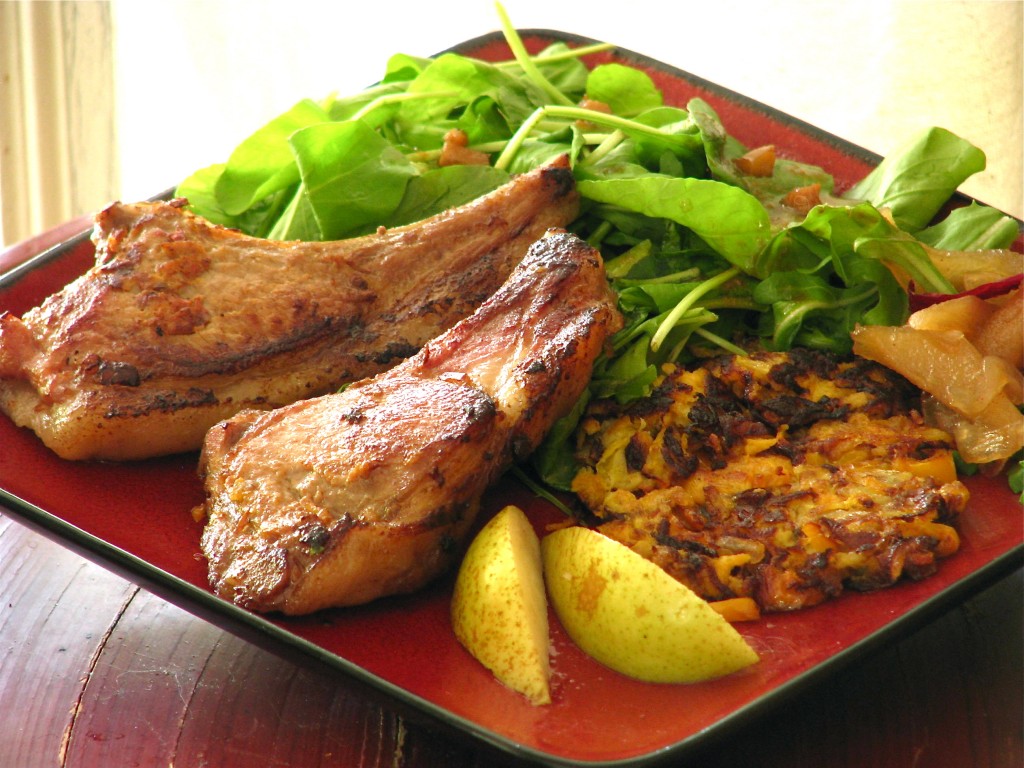
Pan Fried Wild Hog Chops with Ginger and Garlic
1 Tbsp soy sauce
1 Tbsp toasted sesame oil
2 Tbsp rice cooking wine
2 tsp minced garlic
2 Tbsp peanut oil
1 tsp minced serrano pepper
1 tsp minced fresh ginger
1/2 tsp Chinese chili paste (or cayenne powder)
1 tsp brown sugar
Salt and pepper to taste
1 rack of wild pork, sliced into 1-inch thick chops, 6-8 chops (or substitute farmed pork chops)
1 tsp coarsely flaked sea salt (optional)
In a mixing bowl, combine first 8 ingredients. Add chops and turn a few times in the marinade to coat. Cover and refrigerate for 1 hour, or up to 8 hours. To cook: Heat a well-seasoned flat-bottom wok or stainless steel skillet and then add about 2 Tbsps peanut oil. Place chops, two or three at a time, in hot pan and sear over medium high heat. Do not crowd. When well browned, turn and brown other side. Then reduce heat and cook for a few more minutes or until meat is cooked medium well (internal temperature of 150 degrees). If using a touch test for doneness, the meat should be firm, but with a slight yield. (Some cooks serve farmed pork medium or medium rare, but to be on the safe side, I like to cook wild pork until it is done, but not a second longer.) Allow the meat to rest for a few minutes before serving. Scatter sea salt lightly over chops. Serves 6-8, depending on size of rack.
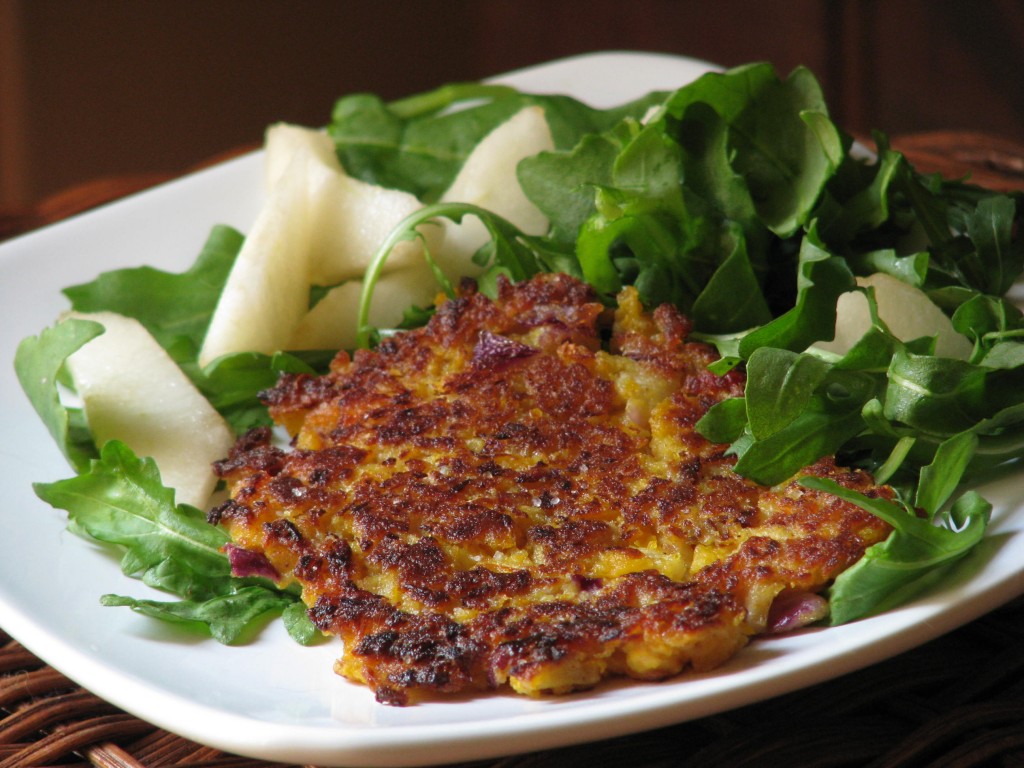
Curried Butternut Squash and Keiffer Pear Hash Browns
3/4 cup butternut squash, grated (see notes)
1/3 cup Kieffer pear, grated (or substitute crisp Asian pear)
1/3 cup onion, grated
1/4 cup yellow or orange bell pepper, grated
1 or 2 ripe red serrano peppers, minced
2 generous dashes of curry powder
1/2 tsp minced fresh garlic
Salt and pepper to taste
1 large egg
1 Tbsp flour (optional)
Enough vegetable oil for frying
Press and squeeze grated ingredients between kitchen towels or paper towels until dry. In a mixing bowl, whisk together egg, flour (if using), curry powder, garlic, serrano, salt, and pepper. Gently stir in squash mixture. Add a drizzle of oil to a hot stainless steel skillet. Place small scoops of mixture in pan and gently press to flatten to about 1/4 inch thick. Don’t crowd patties in the pan. Cook over medium high heat until well browned; then carefully turn with spatula and brown other side. (If pan seems dry, drizzle in more oil before turning.) Slide hash browns out of pan and onto a plate. Serve immediately or place in a warm oven until serving time. Makes 6-8 small hash brown patties
Notes: When grating, for best texture, use the largest holes on your box grater and press the full length of grater so squash strands are longer. Flour helps the mixture bind and hold together better while cooking. Without flour, the hash browns will be looser, but gluten free. If your basil hasn’t burned up, shred a few leaves and use as garnish.
Arugula and Pear Salad with Honey Lemon Thyme Dressing
1 tsp honey, more or less to taste
Juice of 2 lemons, about 1/4 cup
1/2 cup extra virgin olive oil
1 tsp fresh thyme leaves, chopped
1tsp Dijon mustard
1 clove garlic, smashed and minced
Generous pinch of salt, or to taste
1 or 2 Kieffer pears, peeled and sliced in thin wedges (or substitute crisp Asian pears)
Arugula, washed and dried
Whisk together first six ingredients and set aside. Arrange arugula on salad plate, top with a handful of pear slices. Drizzle lightly with dressing. Leftover dressing will keep in the fridge for at least a week.
Note: If your Kieffer pears seem too hard, let them sit out on the kitchen counter for a few days and they will ripen. Arugula will make it through most summers if you give it plenty of afternoon shade, or all day dappled shade. It will, however, become even spicier in the heat. Which makes it just right for pairing with with crisp pears and slightly sweet vinaigrette.
Amaranth Greens with Sesame, Lime and Garlic
1/4 cup raw sesame seeds
1-2 cloves garlic, smashed and minced
About 2 cups amaranth leaves, washed and dried
Salt and dash (or two) of cayenne pepper
1 lime
Olive oil
Heat a stainless steel skillet (or well-seasoned cast iron skillet) and toast sesame seeds over medium low heat until brown, stirring often. Remove seeds and set aside. Add splash of olive oil to hot pan, add garlic and cook for about 1 minute or less, and then add amaranth leaves, garlic, salt and cayenne. Stir and cook over medium high heat for just a couple of minutes, or until greens are lightly seared and wilted. Serve with squeeze of lime juice and sprinkling of toasted sesame seeds.
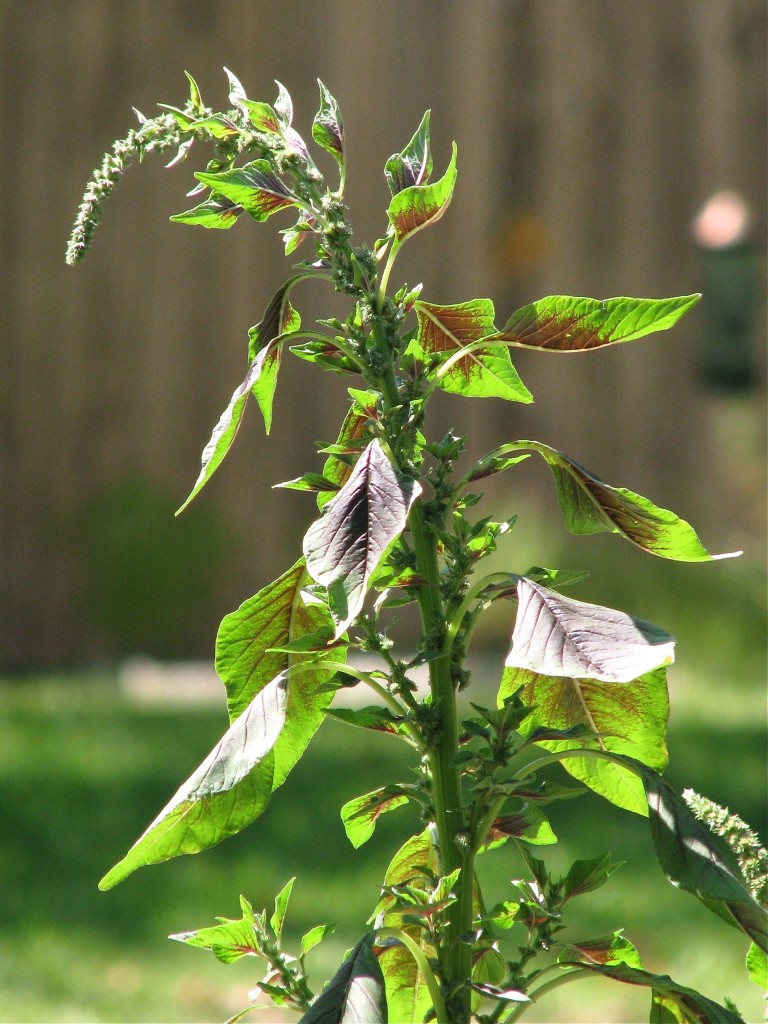
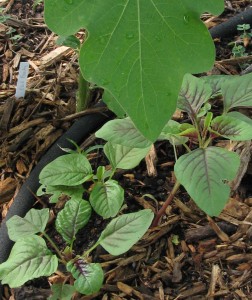
Note: The Tricolor Amaranth (in the top photo) have been hanging tough in my summer garden. Of course it helps that they get only about 3 hours of direct sun. Most of the day they’re in dappled sun or bright shade. During a drought, in order to look and taste their best, most species of Amaranth, including the Tricolor, will require some handwatering between designated watering days.
Easy Pear and Pepper Chutney
About 1 1/2 cups Kieffer pear, peeled and sliced in thin wedges
2 or 3 ripe red serrano peppers, seeded and julienned
1/2 cup onion, sliced thin
1/2 cup brown sugar, or more or less to taste
2 Tbsp organic corn syrup
3/4 cup water
1/2 tsp cinnamon
1 tsp salt
1 Tbsp lemon juice
3 Tbsp apple cider vinegar
Place all ingredients in a large sauce pan or skillet. Bring to slow boil, stirring occasionally. Reduce heat to simmer and cook until pears soften a bit and water reduces to about 1/4 cup. If pears seem too firm, add more water and cook a little longer. Serve with wild pork chops.
* For more about Kieffer pears (and more recipes) check out this piece I wrote 2 summers ago for the American-Statesman.
Recipes and photos by Renee Studebaker/Do not use without permission

